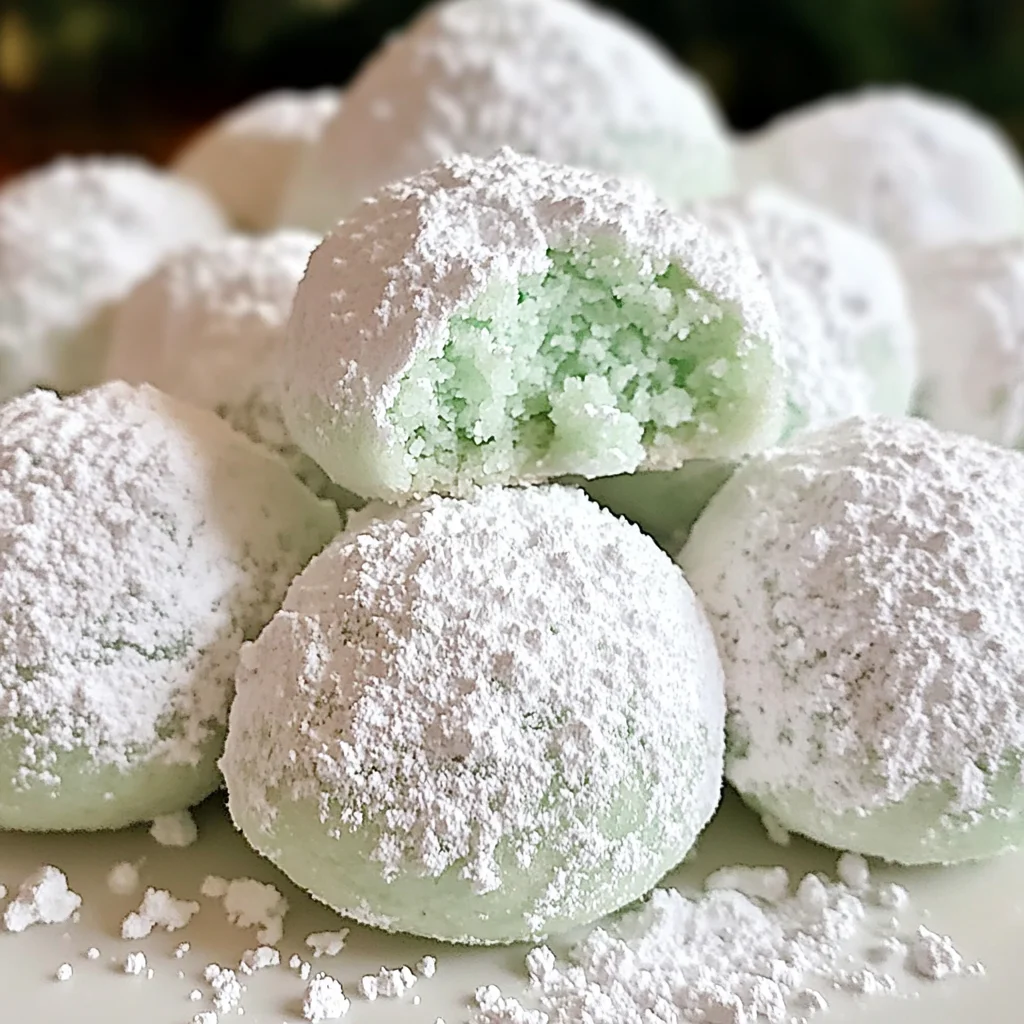
Minty Snowball Cookies
Minty Snowball Cookies are a delightful treat that brings a burst of freshness to any occasion. These cookies are not only easy to make but also offer a unique flavor profile with the refreshing taste of peppermint. Perfect for holiday gatherings, cookie exchanges, or simply as a sweet snack, Minty Snowball Cookies are sure to impress your family and friends with their melt-in-your-mouth texture and festive appeal.
Why You’ll Love This Recipe
- Quick and Easy: With simple ingredients and straightforward steps, you can whip up these cookies in no time.
- Refreshing Flavor: The hint of peppermint gives these cookies a unique twist that sets them apart from traditional recipes.
- Versatile Treat: Perfect for holidays, parties, or just because! They fit well into various occasions.
- Customizable Appearance: Add green food coloring for an extra festive touch, making them visually appealing.
- Perfect for Gifting: Pack them in a decorative box or tin for a thoughtful homemade gift.
Tools and Preparation
To create these delicious Minty Snowball Cookies, you’ll need some essential kitchen tools. Having the right equipment will make the process smoother and more enjoyable.
Essential Tools and Equipment
- Stand mixer or hand mixer
- Mixing bowls
- Baking sheet
- Parchment paper
- Cooling rack
Importance of Each Tool
- Stand mixer or hand mixer: These tools help achieve the perfect creamy consistency for your dough.
- Mixing bowls: Essential for combining ingredients efficiently without spills.
- Baking sheet: Provides a sturdy surface for even baking of your cookies.
Ingredients
For the Dough
- 1 cup unsalted butter, softened
- 1/2 cup powdered sugar
- 1 teaspoon peppermint extract
- A few drops of green food coloring (optional)
- 2 1/4 cups all-purpose flour
- 1/4 teaspoon salt
For Coating
- 1 cup powdered sugar
How to Make Minty Snowball Cookies
Step 1: Prepare Your Oven and Baking Sheet
Preheat your oven to 350°F (175°C). Line your baking sheet with parchment paper to prevent sticking.
Step 2: Cream Butter and Sugar
In a mixing bowl, beat together the softened butter and 1/2 cup powdered sugar until light and fluffy. This should take about 3-5 minutes with an electric mixer.
Step 3: Add Flavorings and Color
Add the peppermint extract and optional green food coloring to the butter-sugar mixture. Mix until evenly incorporated.
Step 4: Combine Dry Ingredients
In another bowl, whisk together the all-purpose flour and salt. Gradually add this dry mixture to the wet ingredients while mixing on low speed until just combined.
Step 5: Shape the Cookies
Scoop out small portions of dough (about 1 inch in diameter) and roll them into balls. Place them on the prepared baking sheet about 2 inches apart.
Step 6: Bake the Cookies
Bake in the preheated oven for 10-12 minutes or until the edges are lightly golden. Remove from oven and let cool on the baking sheet for about 5 minutes before transferring to a cooling rack.
Step 7: Coat with Powdered Sugar
Once cooled, roll each cookie in powdered sugar until fully coated. Allow them to sit briefly before serving to let the coating set.
Enjoy your delightful Minty Snowball Cookies as a refreshing treat!
How to Serve Minty Snowball Cookies
Minty Snowball Cookies are delightful treats perfect for any occasion. Their refreshing flavor and snowy appearance make them a charming addition to your dessert table.
With a Hot Beverage
- Coffee or Tea: Pairing these cookies with a warm cup of coffee or herbal tea enhances their minty flavor and provides a cozy experience.
- Hot Chocolate: The sweetness of hot chocolate complements the cool mint taste, creating a comforting indulgence.
As Dessert Bites
- On a Dessert Platter: Arrange Minty Snowball Cookies on a festive platter alongside other cookies for a colorful dessert spread.
- Gift Boxes: These cookies fit beautifully in gift boxes for friends and family, adding a personal touch to any occasion.
At Holiday Gatherings
- Christmas Parties: Their festive look makes them ideal for holiday celebrations, bringing cheer to your gatherings.
- New Year’s Eve: Serve these cookies as a sweet farewell to the old year while welcoming new beginnings.
How to Perfect Minty Snowball Cookies
To achieve the best Minty Snowball Cookies, consider these helpful tips.
- Use Softened Butter: Ensure your butter is at room temperature for easy mixing and the best texture.
- Measure Flour Accurately: Spoon flour into your measuring cup and level it off for precise amounts, preventing dense cookies.
- Chill the Dough: Refrigerating the dough for at least an hour helps maintain shape during baking.
- Don’t Skip the Coating: Rolling the cookies in powdered sugar after baking gives them their classic snowball appearance and added sweetness.
- Experiment with Color: A few drops of green food coloring can make your cookies visually appealing without altering the taste.
Best Side Dishes for Minty Snowball Cookies
Minty Snowball Cookies can be enjoyed alongside various side dishes that enhance their festive appeal. Here are some great options:
- Fruit Salad: A light and refreshing fruit salad balances the sweetness of the cookies with natural flavors.
- Cheese Platter: Include mild cheeses like brie or cream cheese to complement the mint without overpowering it.
- Chocolate Fondue: Dip pieces of cookie in warm chocolate for an indulgent treat that pairs well with mint flavors.
- Yogurt Parfait: Layer yogurt with granola and fruits to create a healthy option that contrasts nicely with cookie sweetness.
- Milkshake: A creamy milkshake provides a delightful contrast; consider mint-flavored shakes to enhance the experience.
- Ice Cream Sundae: Top vanilla ice cream with crushed Minty Snowball Cookies for an extra special dessert delight.
Common Mistakes to Avoid
- Ignoring the temperature of ingredients: Make sure your butter is softened to room temperature. Cold butter won’t mix well with sugar, affecting the cookie’s texture.
- Skipping the peppermint extract: Don’t underestimate the power of flavor! This ingredient is key to achieving that minty taste in your Minty Snowball Cookies.
- Not measuring flour accurately: Use a scale if possible or fluff up the flour before spooning it into your measuring cup. Too much flour can make the cookies dry.
- Overmixing the dough: Mix just until combined; overmixing can lead to tough cookies instead of tender ones.
- Neglecting cooling time: Allow your cookies to cool before coating them with powdered sugar. This step helps prevent the sugar from melting into the cookie.
Storage & Reheating Instructions
Refrigerator Storage
- Store Minty Snowball Cookies in an airtight container.
- They will last up to one week in the refrigerator.
Freezing Minty Snowball Cookies
- Place cookies in a single layer on a baking sheet and freeze for about an hour before transferring them to an airtight container.
- They can be frozen for up to three months.
Reheating Minty Snowball Cookies
- Oven: Preheat to 350°F (175°C). Heat cookies for about 5 minutes until warm.
- Microwave: Warm one cookie at a time for 10-15 seconds. Be careful not to overheat.
- Stovetop: Place cookies in a pan over low heat for a few minutes, flipping occasionally.
Frequently Asked Questions
What are Minty Snowball Cookies?
Minty Snowball Cookies are delightful buttery treats infused with peppermint, coated in powdered sugar, making them perfect for festive occasions.
Can I use different flavors instead of mint?
Absolutely! You can substitute peppermint extract with other flavors like almond or vanilla for a unique twist on this classic recipe.
How should I store Minty Snowball Cookies?
Store these cookies in an airtight container at room temperature or refrigerate them for longer freshness.
Can I make these cookies gluten-free?
Yes! Simply replace all-purpose flour with a gluten-free flour blend, ensuring you follow proper measurements for best results.
What can I use instead of powdered sugar for coating?
If you prefer, you can use coconut sugar or finely ground nuts as an alternative coating option.
Final Thoughts
Minty Snowball Cookies are not only delicious but also versatile, making them suitable for various occasions, especially during holidays. Feel free to customize them by adding chocolate chips or nuts. Give this recipe a try and enjoy these delightful treats!
Minty Snowball Cookies
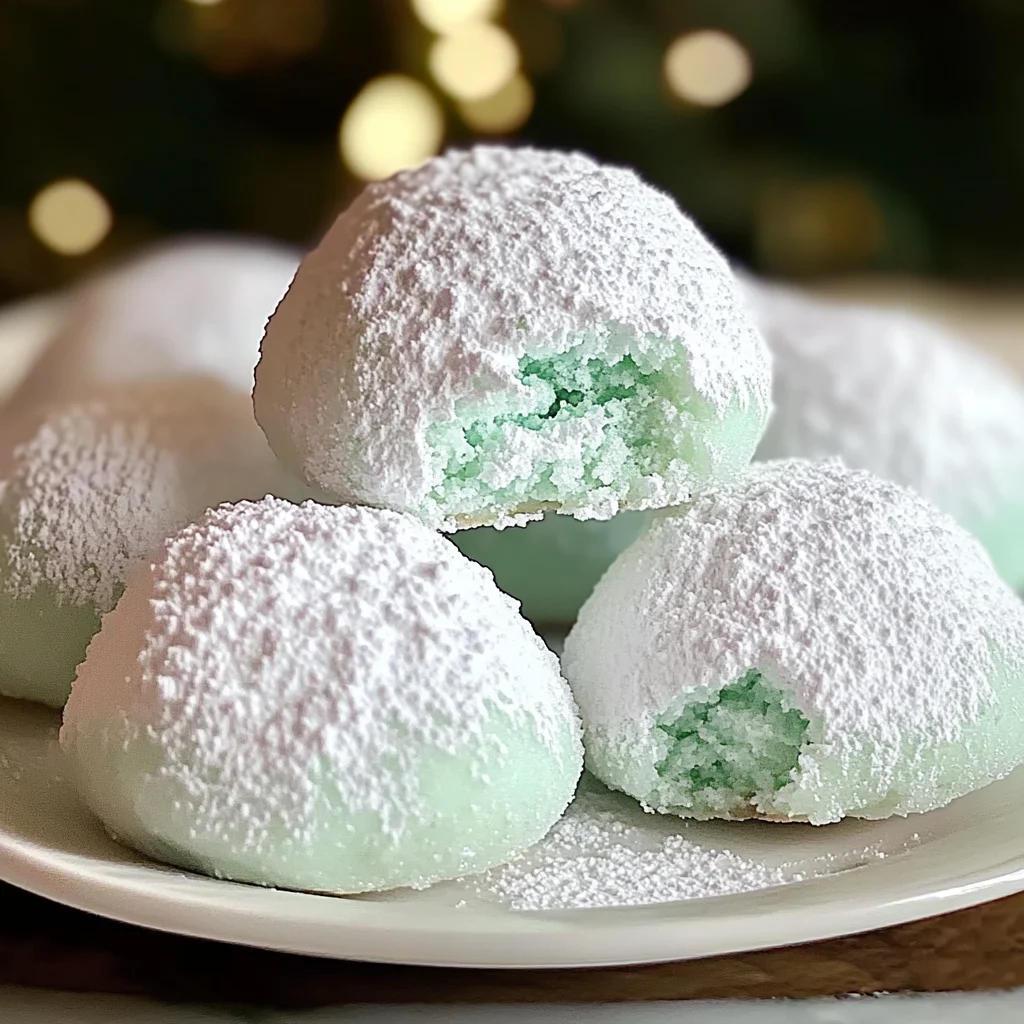
Minty Snowball Cookies are a delightful twist on classic cookies, offering a refreshing burst of peppermint in every bite. With their melt-in-your-mouth texture and snowy powdered sugar coating, these cookies are perfect for holiday gatherings, cookie exchanges, or simply indulging in a sweet treat. Their simple preparation makes them accessible for bakers of all levels, and you can easily customize them with festive green food coloring for an extra touch. Enjoy these buttery mint delights alongside your favorite warm beverages or package them as thoughtful gifts for friends and family.
- Prep Time: 15 minutes
- Cook Time: 12 minutes
- Total Time: 27 minutes
- Yield: Approximately 24 cookies 1x
- Category: Dessert
- Method: Baking
- Cuisine: American
Ingredients
- 1 cup unsalted butter, softened
- 1/2 cup powdered sugar (plus more for coating)
- 1 teaspoon peppermint extract
- A few drops of green food coloring (optional)
- 2 1/4 cups all-purpose flour
- 1/4 teaspoon salt
Instructions
- Preheat your oven to 350°F (175°C) and line a baking sheet with parchment paper.
- In a mixing bowl, cream together the softened butter and 1/2 cup powdered sugar until light and fluffy.
- Mix in the peppermint extract and optional green food coloring until well combined.
- In another bowl, whisk together the flour and salt. Gradually add this dry mixture to the wet ingredients on low speed until just mixed.
- Shape small balls of dough (about 1 inch) and place them on the prepared baking sheet, spacing them about 2 inches apart.
- Bake for 10-12 minutes or until lightly golden around the edges. Allow to cool on the baking sheet for about 5 minutes before transferring to a cooling rack.
- Roll each cooled cookie in powdered sugar until fully coated.
Nutrition
- Serving Size: 1 serving
- Calories: 76
- Sugar: 5g
- Sodium: 12mg
- Fat: 4g
- Saturated Fat: 2g
- Unsaturated Fat: 2g
- Trans Fat: 0g
- Carbohydrates: 9g
- Fiber: <1g
- Protein: <1g
- Cholesterol: 11mg